Quantum Fixer Leveling Guide 0.26
by Jabroni
INtroduction
Are your teammates screaming “Medic!” whenever they get DBNOed? Are you struggling to know what career you should enroll in as your high DPS allies roll their eyes at you for underperforming? Well, fear not! The Tactical Trauma Specialists are here!
This comprehensive leveling guide for Quantum Fixer will take you from level 1 through 35+ on the most optimal trajectory for early, mid, and late-game efficiency. I’ll be discussing the best skills for 0.26 and making sure you perform your proper duty as Big Time’s main support class.
Consider supporting us on Open Loot with Creator Code: EvermoreWardens whenever you decide to make a purchase. We are Big Time Studios Ambassadors and may receive a commission from purchases.
Without further ado, let’s begin!
Why choose the quantum Fixer?
Ah! So, you’ve just decided to roll a Quantum Fixer for the first time, and you have no idea where to start. The main reason for choosing the Quantum Fixer is as follows:
- You want to keep your allies alive by healing and reviving them.
- Your main concern isn’t dealing damage (until later).
- You do not want to engage as the forefront of your party.
- You want to help replenish energy with Energizer Gates.
You should not choose Qauntum Fixer if you:
- Want to vanquish enemies throughout all stages of the game.
- Jump into huge packs of mobs without concern for soaking up damage.
- Want to lead the front lines of your party.
- Are not concerned with your allies’ health and energy bars.
Pros
- Usually more invites to parties since it’s important to have at least 1-2 Quantum Fixers to alleviate DBNOs.
- Being able to keep allies’ health and energy replenished with abilities such as Superior Heal and Energizer Gate.
- Playstyle is very safe as players are not concerned about Quantum Fixers dealing damage or grabbing enemy attention.
CONS
- Not great at dealing damage until late game with Orbital Strike.
- Having to rely on allies to constantly handle major threats.
- Play style is not very engaging or exciting as you’re mostly just laid-back, keeping health and energy replenished behind lines.
- Party members will usually request and presume you have Energizer Gate, which is rare and not easy to come across, so you’ll have to rely on Trees of Life early on.
Important gear Subtrees
Before we begin, I cannot stress how important it is to be on the lookout for specific gear subtrees as they lay the foundation for a proper mid-late game build. I will list them in descending order from highest to least priority. Some subtrees won’t be mentioned since they’re pretty much obsolete and have minimal impact on the class.
Gates Subtree (8 Skill Points)
Although you have to allocate 3 points until you have access to 1 into Fortify Gate, Arsenal Gate, and Magical Gate, the extra 2 levels higher than the standard Energizer Gate make a crucial difference as they provide a slightly longer duration and more energy. You do not have full access to the Gates Subtree’s Energizer Gate until Tier 3 at level 25. So, this is more important for mid-late game. Note: it takes at least 2 run-throughs for the Gates Subtree Energizer Gate to nearly replenish all of your maximum energy in the late game. So, be on the lookout for Large Energy Potions and use Trees of Life in a safe location to recuperate.
Energizer Gate (3 Skill Points)
Until you’ve acquired and accessed Gates Subtree’s Energizer Gate at level 25, the standard non-subtree Energizer Gate has no tier requirements and provides a decent amount of energy for you and your allies. It helps the party out tremendously regardless.
Nullify Subtree (1-13 skill points)
This subtree is for accessing Smite, an ability that’s not very energy-intensive and still profound given its large radius. It can knock down every enemy even with just 1 skill point allocated. It gets stronger every level by reducing enemies’ mitigation, dodge, block, and evasion for your allies to finish off. The 3 extra points into Smite Bleed isn’t necessary but can be very potent if you can constantly cast Smite and chain them on packs of enemies.
Satellite Subtree (10 skill points)
This subtree is for accessing Orbital Strike (unlocked at tier 3, level 25) for the very late game as this skill isn’t optimal until it’s maxed out at 10. However, it dishes out an incredible amount of damage, triggers a total of 3 times (2 times past level 5) once it’s maxed, strips away any type of defensive layer, and can lay waste to enemies in a matter of seconds. One can argue that this is optional since your party members are the ones primarily dealing damage, and the skill is also extremely energy-intensive so it’s more suitable for say, solo play or a more offensive build.
Healing Subtree (12 points)
I would say this is the most optional subtree compared to the 3 above. Full Heal is worse than Superior Heal since Superior Heal can mostly fully heal allies regardless. It has a smaller radius, requires 3 points into Superior Heal, and has a higher cooldown (even maxed it’s at 30 seconds) so don’t waste any points on it. Healing Subtree is primarily for accessing Chain Heal, which is another solid skill to incorporate into Quantum Fixer’s Rotation. One does need to allocate 2 points into Medball first, but it does have a faster cooldown than Superior Heal and is just as reliable. If you believe Superior Heal is enough, however, you can forego Chain Heal and not put any points into it. Otherwise, if your CDR is lacking and you need another reliable burst heal, feel free to put points into Chain Heal.
Optional Gear Skills for Early-Mid Game (Level 1-25)
These are skills that aren’t necessary past level 25 since they mostly become obsolete and outclassed past level 25 but are still somewhat useful early on if you come across their gear or you have 3 extra points to spare. Here’s a list with no priority of preference:
- Smite
- Orbital Strike
- Rend
- Chain Heal
- Summon Turret
- Summon Artillery Turret
- Fortify Gate
- Magical Gate
- Arsenal Gate
- Summon Decoy – Never put more than 1 point into this. Doesn’t draw aggro with more points, and it’s less effective at higher levels.
- Flash
- Bubble Shield – Pretty effective even with 1 point until level 40. Projectile splash damage is higher at that level, which negates the shield even if it prevents ranged projectiles.
IMportant Equipment
Arathor's Breast Plate
This is the Best in Slot chest piece for a Quantum Fixer. Its mitigation and block are extremely high and surpass most of the Quantum Fixer’s chest pieces, even past Tier 5. This also reduces the wisdom stat points required for the class since conventional chest pieces demand high allocation. Definitely be on the lookout for this since it provides a lot of survivability and a minor DPS increase with level 3 Fire Blast. This equipment has a low drop rate.
Boots of Leaping
Personally, I do not think this is necessary, and it’s more of a personal preference since you lose a decent amount of mitigation, dodge, and evasion. Still, one can argue that having access to level 2 Ninja Leap allows rapid engagement for healing and reviving allies, as well as disengagement when surrounded by hordes of enemies. Regardless, it’s the most popular item in the game, and many people want it for that minor boost of speed. This equipment has a low drop rate and has a chance to appear in high-end vendroids.
Gloves of Flame Throwing and Zorelytho's Ember
These are extremely optional. I personally would not wear them, but if you want to go for an eccentric intelligence build, lose out on survivability, and add a bit of DPS via level 3 Fire Ball in your arsenal, feel free to do so. Each piece of equipment has a low drop chance.
ComBat
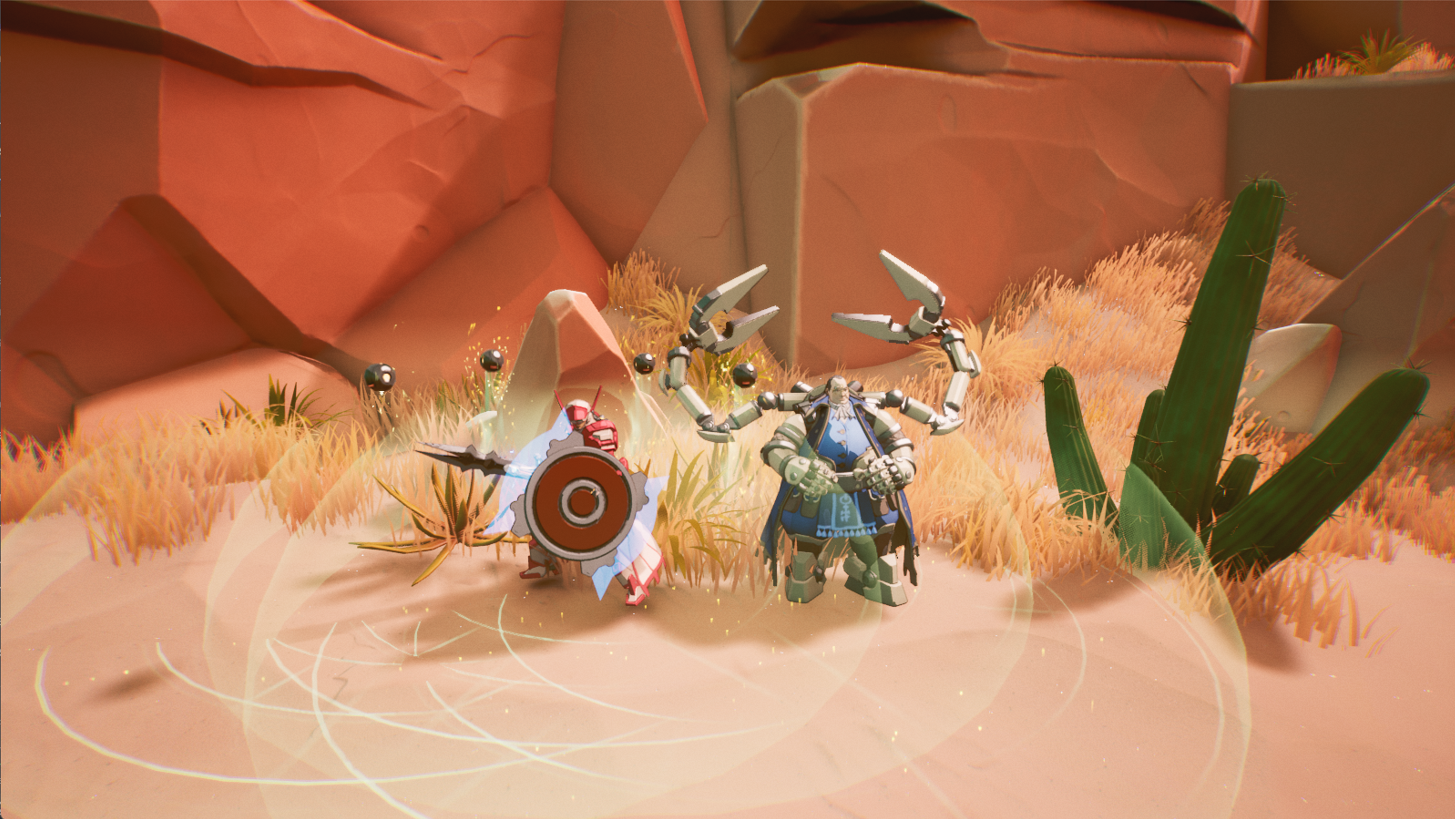
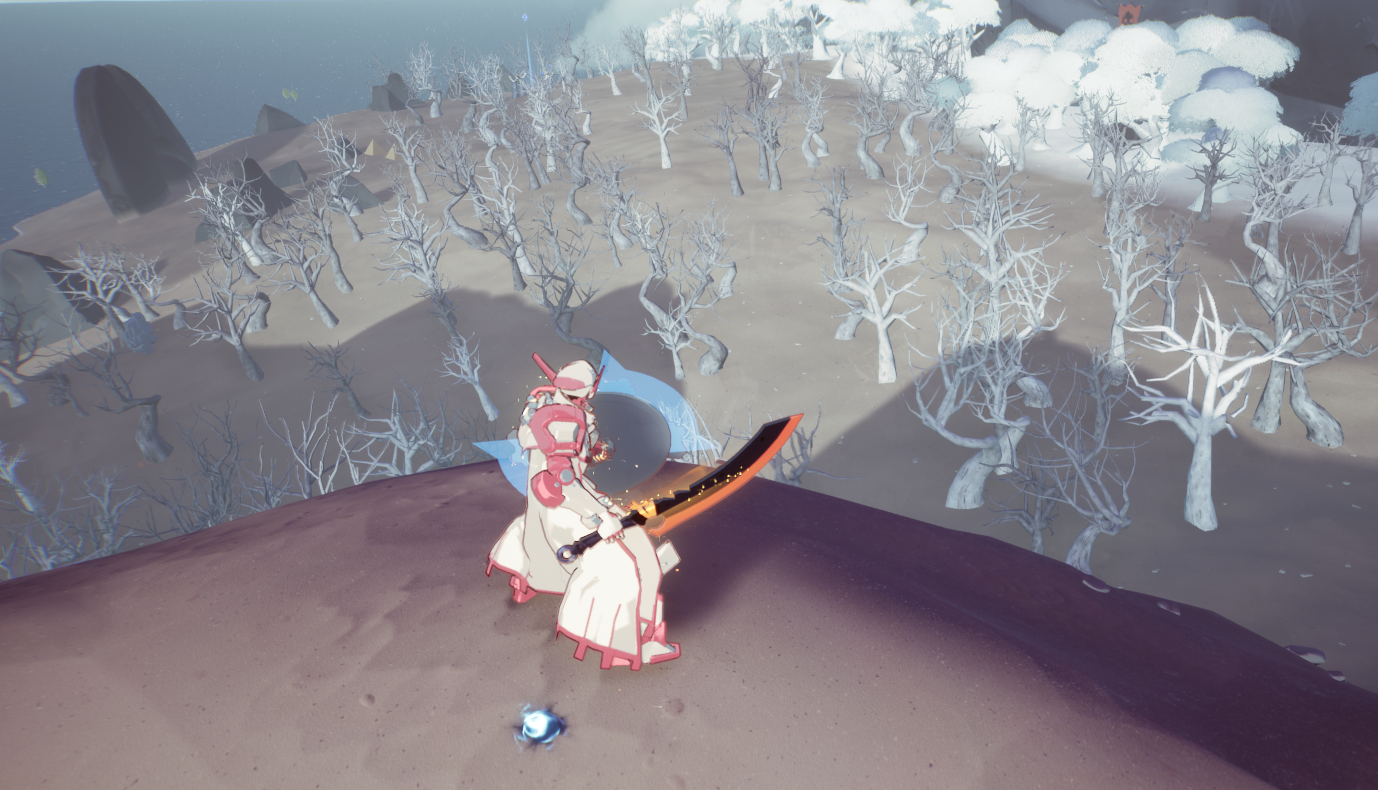
Even with a very minimal role as a damage dealer, it’s important to protect yourself, as your allies depend on you to stay alive in order to heal and revive. Use a one-handed hammer and a Quantum Fixer shield, simply because all the other weapons and armor require different stats that do not align with a Quantum Fixer’s standard stats, which are Wisdom, Strength, and Agility.
Never jump into a horde of enemies around your level range or above. Don’t be careless; there’s no tank or paladin specialization for this class yet. Your vitality and defensive stats aren’t as high as a Time Warrior’s, so you won’t survive for long. Also, again, your allies depend on you to stay alive in order to heal and revive, so stay safely behind them.
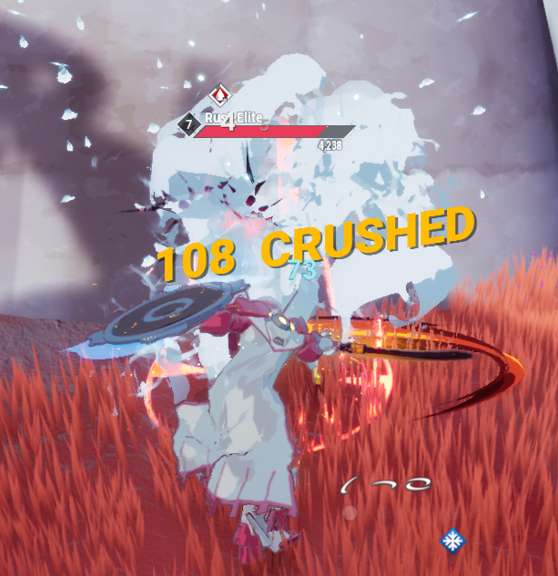
Once you get your weapon expertise to level 20, depending on tier, craft a Frost Gem of Slowing and slot it in the 4th slot of your weapon inside of your metaverse. Your 4th combo attack is the one that deals the most damage. Frost Gem of Slowing provides a significant damage boost, slows enemies, and adds a minor DOT (damage over time) on the enemy it procs. Sapphire is mined inside Icy Cave dungeons within rocks, and Time Essence are random drops from enemies. Once slotted in, practice your 4th combo attack, and you can see an improved difference.
You can also try out an Energy Gem for the more energy-intensive Orbital Strike build in the late game.
Your primary role in combat is to finish off already injured low-health enemies, solo enemies that strayed away from their pack, and strip away yellow defensive layered armor with your one-handed hammer. Never try to solo high-health enemies with multi-layered shields like Tank Bugs, Mega Clockies, or T-Rexes (unless you have a late-game maxed Orbital Strike build).
Every once in a while, a random party member will decide to stray off 200m+ and end up getting DBNOed. Bind a Speed Potion to your hotkey in order to reach their location faster. It’s also good to have at least one potion bound to your hotkey to break stun lock when staggered by a Mega Clockie.
Stats
In descending order, here are the stats that Quantum Fixer players need to focus on. If they are not mentioned here, then there is no need to concern yourself with them.
- Cooldown Reduction (CDR): CDR is king; it’s your most important gear stat. With high CDR, you can get your max Superior Heal down to a 5-7 seconds cast, and your Instant Revive close to 9 seconds. Imagine casting Smite or Orbital Strike every 3 seconds or putting down an Energizer Gate every 20 seconds. It’s absolutely insane and almost feels like cheating.
- Survivability (Mitigation, Dodge, Block, Evasion): At high levels (40+), dungeons are pretty unforgiving, and it’s possible to get 1-2 shotted instantly without being properly geared. Don’t disregard this, as it makes a huge difference between life and death.
- Wisdom: This provides a little bit of energy regeneration and maximum energy for your Energizer Gate, as well as necessary gear requirements (mostly chests & head). Healing scalar helps a bit with Superior Heal and Healing Aura but doesn’t increase Healing Aura Drone since the healing is always capped at 10 hp per second. Finally, Orbital Strike damage scales with Wisdom.
- Strength: Provides a bit of health but is also required for equipment while leveling.
- Agility: Provides a bit of movement speed but is also required for equipment while leveling.
- Max Energy: Provides more energy regeneration via Energizer Gate but isn’t something that’s prioritized since it’s usually incidental and comes along with most equipment.
Levels 1-15 (Early Game)
The FTUE (First Time User Experience) is a fairly easy solo tutorial that players typically finish around levels 8-10. This appears when you log onto the game for the first time.
If you’re starting a new pocket watch, there are seashore dungeons ranging from 1-9 near the coastlines of Watertown that you can easily solo as well.
Past level 9, you want to find teammates around your level and do the insectoid nest dungeons in the Rustling Forest until you reach tier 2, which is level 15.
From level 15 onwards, head over to the Dusky Forest opposite Rustling Forest, and you’ll come across more dungeons around levels 15-20.
Be on the lookout for a good Tier 3 pocket watch, as you want to be swapping over as soon as possible at rank 20, given the poor stats on a starter.
I would not recommend settling for a Tier 2 pocket watch at ranks 10 & 15, given that it’s restricted to 1 gear slot. As long as you reach rank 20, a Tier 3 provides 2 gear slots and a decent number of stats to take you throughout the entirety of the game. Leveling takes a long time, especially when you have to restart a pocket watch, but if you want a challenge, you can try to reach rank 30 and use a Tier 4 pocket watch, which is still restricted to 2 gear slots, albeit with better stats.
Levels 1-4 Skill Point Allocation
Levels 1-3: put 3 points into Healing Aura Drone as the quickest prerequisite to access Instant Revive, and put 1 point into it at level 4.
Around level 5, make sure you have about 2,000 gold saved up, and purchase Tier 1 Path of Healing and Path of Robotics from the appropriate trainers (somewhere in the meadows plaza in the FTUE & near Watertown). DO NOT purchase Path of Quantum Fixer or Gates, since you will be on the lookout for a Tier 3 or Tier 4, and starting over immediately once you reach rank 20 or 30 with those pocket watches. Also, the Energizer Gate skill on non-subtree gear doesn’t require Path of Gates training.
Levels 5-10 Skill Point Allocation
Put 3 points into Light Heal and 3 points into Light Heal – Buff Mitigation. This will act as a minor burst heal + defense increase, since the mitigation bonus is pretty effective early on. It’s not as effective later on as enemies tend to get stronger, and your allies will acquire better gear.
If you have a very good pocket watch with high 90+ wisdom, such as a legendary or epic Tier 4+ pocket watch, the alternative route is to avoid Healing Aura Drone and put 3 points into Light Heal, 1 point into Healing Aura, and 1 point into Instant Revive instead for a more focused Healing Aura build. Healing Aura is arguably stronger than Healing Aura Drone given that it stacks with Healing Scalar via Wisdom, thus heals more.
Levels 11-14 Skill Point Allocation
Put 1-3 points into one of the skills under Optional Gear Skills for Early-Mid Game (Level 1-25) if you come across any of the gears and you enjoy using the skill. Otherwise, put everything into Healing Aura Drone.
As you near level 15, make sure you have saved at least 15,000 gold (30,000 if you’re aiming for T4) in order to purchase Path of Robotics II over in Icy Wastes or No Man’s Land. Use our interactive map if you need help. If you do not come across the trainer, make sure you swap gateways and servers until you find one, as they appear haphazardly in the same location.
Early-mid Game: Levels 15-25
From Level 15-25 you will be leveling mostly in The Wastelands
Levels 15-20 Skill Point Allocation
Put 3 points into Healing Aura Drone: Increase I, and the rest of the 3 points into Healing Aura Drone.
At rank 20, you should have acquired a Tier 3 Pocket Watch and restart over from level 1.
If you plan on going to rank 30 Tier 4, make sure you have saved up an additional 15k gold to purchase Path of Healing II in order to access Superior Heal at Level 15. Light Heal becomes obsolete, given your allies have more health and the enemies hit harder. Superior Heal provides an excellent burst while Healing Aura Drone provides HOT (heal over time).
Restarting Levels 1-15?
Once you’ve restarted back to level 1 with your Tier 3 pocket watch, follow the levels (1-20) guide above until you reach level 15. Make sure you have 46,000 gold saved up and purchase Path of Robotics, Path of Healing II, and Path of Gates I & II via our interactive map.
DO NOT purchase Path of Quantum Fixer. It only unlocks passive skills, which you have to find inside gears. The effects are usually already given via equipment (CDR, Max/Min Melee Modifier), and it’s better to have access to an active skill over a passive skill for a gear slot.
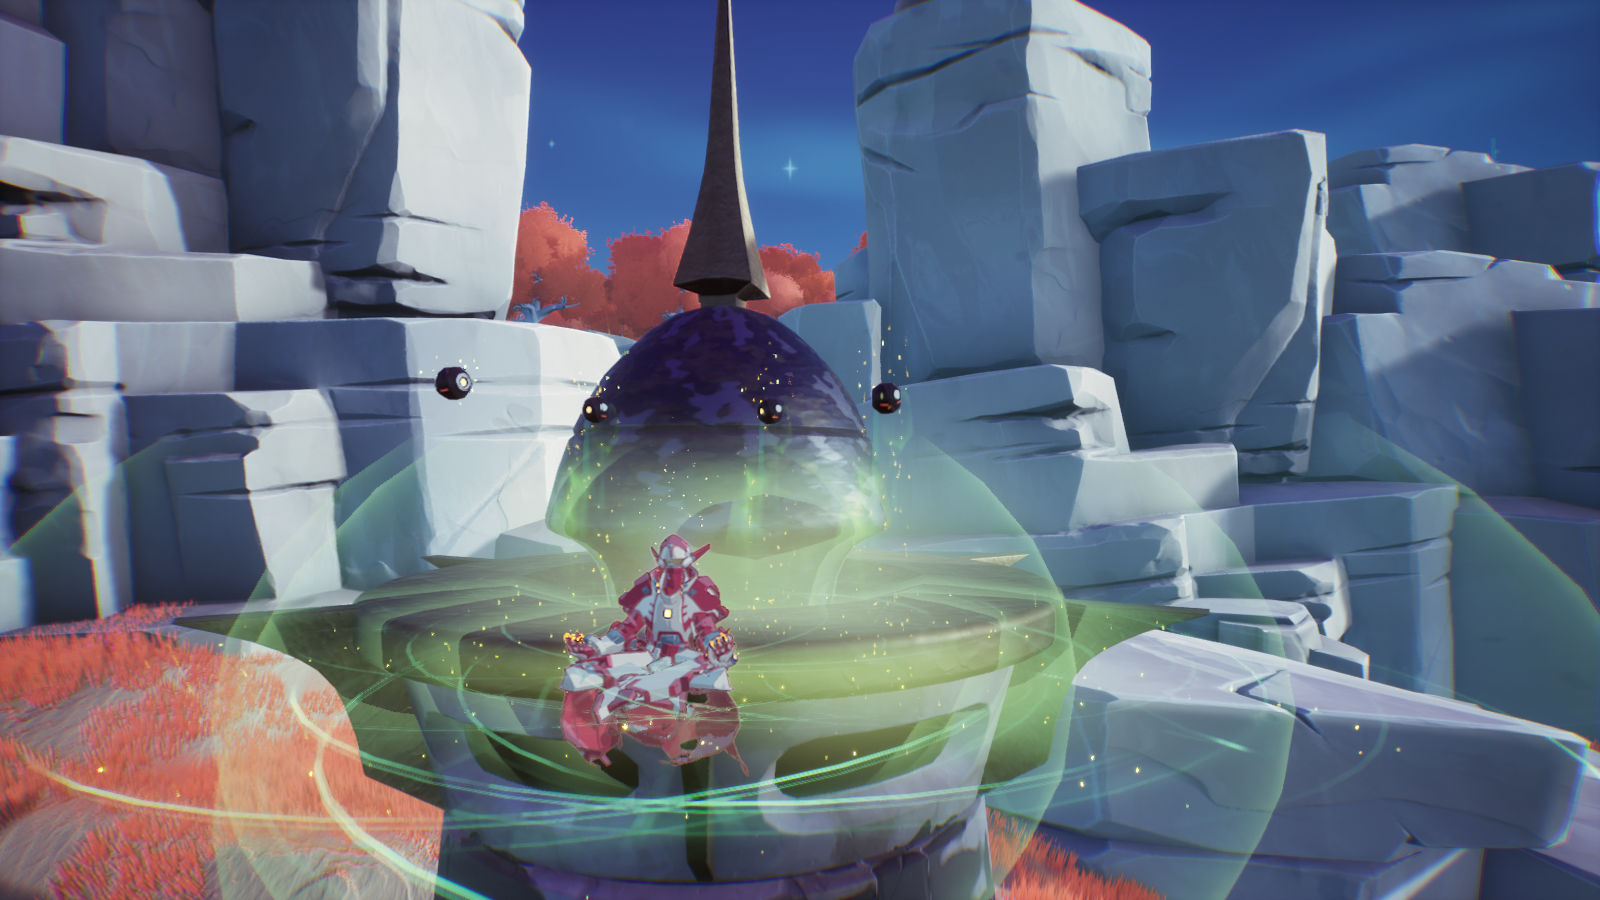
Once you hit level 15, go back to the reset skills shrine on top of the hill behind Water Town and distribute accordingly:
- 3 points into Light Heal in order to access 1 point into Superior Heal.
- 6 points into Healing Aura Drone.
- 3 points into Healing Aura Drone: Increase I.
- 1 point into Instant Revive.
- 1 point into Aura Absorption Drone.
Your skill rotation is as follows:
- Maintain Healing Aura Drone and have it active at all times.
- Apply Superior Heal whenever you or your allies are low on health.
- Instant Revive your DBNO’d allies.
- Cast Aura Absorption Drone whenever you need to shut down a damaging aura around an enemy.
- Auto attack along with the 4th combo heavy attack in order to fend off pesky enemies.
Why Healing Aura Drone Over Healing Aura?
Simply because Healing Aura Drone: Increase I & II provides a significant wisdom increase. This is important given that chests & headpieces require a lot of wisdom. Both Healing Aura Drone: Increase I & II provide a big total of 95 wisdom. Once you max both of them out, they alleviate a lot of the wisdom requirements for chests & head equipment, so you can focus more points into Strength and Agility while still maintaining a solid HOT (heal over time).
Healing Aura Drone also requires less energy consumption since it doesn’t drain over time.
Healing Aura tends to heal more, given it scales with wisdom. However, at max, if it didn’t scale with wisdom, it heals at 30 hp per second, which is the same when 3 max level Healing Aura Drones are following the same player, given they stack.
Once you reach the late game and you’ve acquired enough wisdom via jewelry (neck, rings) and Arathor’s Breastplate, you can take points off Healing Aura Drone and put them somewhere else. So, unless you have a pocket watch with at least, say, 90+ wisdom from your regular starter, I recommend starting with Healing Aura Drone.
Why No Mention of Heal Beam?
Simply put, it’s unreliable. At short distances, it barely heals; at mid-range distances, which are not the easiest to gauge, it doesn’t heal for full often, and its only effectiveness is at long distances, which makes it more difficult to point and aim. Last but not least, you can’t self-heal, whereas Superior Heal checks all of the marks above.
With 2 Healing Aura Drones by your side and your basic rotation that you’ll be using until you reach Gates Subtree Energizer Gate at level 25, you’ll be spending most of your time either in the Dusky Forest or The Wastelands. Keep in mind, Gates Subtree is an extremely difficult subtree to find, so keep your eye on pocket watch vendroids, ask your friends, guildmates, or even Big Time Discord for assistance.
LEVELS 16-19 SKILL POINT ALLOCATION
Put 4 points into Healing Aura Drone and max it at 10.
LEVELS 20-25 SKILL POINT ALLOCATION
Put 3 points into Optional Gear Skills for Early-Mid Game (Level 1-25) or put 6 into Superior Heal for a faster cooldown.
LEVEL 25 SKILL POINT ALLOCATION
Once you’ve reached level 25, make sure you have saved at least 150,000 gold and head over to Icy Wastes to find the Path of Robotics Trainer on our map. Swap servers until you can find a tier 3 trainer and purchase Path of Robotics III for 50,000 gold.
Unfortunately, Path of Healing & Gates III are not in the open world, and you’ll have to come across those trainers in random level 25+ dungeons. This will take a bit of time, but once you do, having access to level 5 Energizer Gate improves your resource management significantly.
Mid-Late Game: Levels 25-35
From level 25-35, you’ll be farming between Wasteland & No Man’s Land Dungeons. There’s no reason to purchase any more training. Tier 4 Pathway Trainers ask for 1,250,000 gold, which is an unreasonable and exorbitant amount, and I’m hoping they reduce the cost in the future. The only benefits of acquiring Tier 4 are to bypass the necessary prerequisite skills for accessing Gates Subtree Energizer Gate and Healing Subtree Chain Heal.
Optional Gear Skills for Early-Mid Game (Level 1-25) have also gotten a lot weaker now, so you can either keep playing with them, sell the gears, give them to a lower-level player, or keep them in case you plan on re-leveling.
Skill Point Allocation: Assuming you’ve only gotten Path of Robotics III, head back to Watertown and reset your skill points.
LEVEL 25 SKILL POINT ALLOCATION
At Level 25 you should have:
- 10 points in Healing Aura Drone
- 3 points in Healing Aura Drone Increase: I
- 3 points in Healing Aura Drone Increase: II
- 1 point in Instant Revive
- 1 point in Aura Absorption Drone
- 3 points in Light Heal
- 4 points in Superior Heal
Around this time, be on the lookout for Path of Healing & Gates III. Path of Healing III eliminates the need for 3 skill points to be put into Light Heal just to access Superior Heal. If you do not come across any of those trainers, focus points into Superior Heal & Superior Heal – Buff Evasion until you’ve come across them.
LEVEL 27 SKILL POINT ALLOCATION
Once you’ve gotten the Tier 3 trainers mentioned above and Gates Subtree, you should have:
- 10 points in Healing Aura Drone
- 3 points in Healing Aura Drone Increase: I
- 3 points in Healing Aura Drone Increase: II
- 1 point in Instant Revive
- 1 point in Aura Absorption Drone
- 1 point in Superior Heal
- 1 point in Fortify Gate
- 1 point in Arsenal Gate
- 1 point in Magical Gate
- 5 points in Energizer Gate
Which makes it a total of 27 skill points. So, at level 27, you can incorporate Energizer Gate into your rotation.
LEVEL 28-36 SKILL POINT ALLOCATION
Put the remaining 9 points into Superior Heal over Instant Revive. At this point, you can feel the effects of Healing Aura Drone waning, so it’s important you have a strong burst heal with a fast cooldown.
Late game: Levels 35+

From here on out, the goal is to max out Superior Heal and then Smite or Orbital Strike. Assuming you’re still following the build that we’ve just recently reviewed, you should have all of this accomplished by around level 46, or level 45 if you decide to remove Aura Absorption Drone from your rotation.
Another goal you could aim for is to acquire the best in slot “God-Rolled” pocket watch and equipment with high CDR, survivability, wisdom, and whichever stat you need so you have the option to remove 10 points from Healing Aura Drone and its passives in order to make room for a hybrid combination of Smite, Level 10 Orbital Strike, Level 5 Arsenal Gate, Level 5 Magical Gate, Chain Heal, or whichever.
You’ll mostly be farming in Icy Wastes and Icy Castle. Leveling is much harder now, and the enemies tend to be much more unforgiving.
Core Base
I believe it’s important to have a core base of skills in the late game. What that means is that some skills are indisputable and absolutely required before branching off. These are as follows:
- 5-10 points into Superior Heal until a near 10-second cooldown.
- 1 or 10 points into Instant Revive.
- 8 points into Energizer Gate, along with its prerequisites.
Essentially, your party members will be getting DBNO’d, taking damage, and casting spells a lot. The reason why I think it’s optional to have 10 in Instant Revive is that you might not have enough wisdom to abandon Healing Aura Drone yet, which is fine. Or you’re more focused on solo play with Level 10 Orbital Strike, so you don’t have many teammates to revive. Regardless, this is the core base I think every Quantum Fixer should at least acknowledge in the late game.
Smite Vs Orbital Strike
These are 2 of the strongest gear-based skills in the late game. Given that we’re restricted to 2 gear slots and leveling takes a long time, it’s difficult to incorporate both, so we have to decide.
Orbital Strike Pros
- Unleashes a devastating amount of AOE damage.
- Allows Quantum Fixer to solo dungeons.
- Provides extra DPS for the team.
- Can target enemies far away.
Orbital Strike Cons
- Extremely energy-intensive. Even with Energizer Gate, you would need Large Energy Potions in order to cast this reliably more than a few times.
- Not very effective unless it has 10 skill points, given the benefit of a larger radius plus 3 damage triggers.
Smite Pros
- Useful even at 1 point. Has the same large radius throughout and can knockdown/crowd control every type of enemy.
- Inexpensive energy cost. You wouldn’t be concerned with casting this multiple times.
- Faster cooldown than Orbital Strike.
Smite Cons
- Has a relatively short distance and can’t target enemies super far away, even as you put more skill points.
- DPS is low even with Smite Bleed, so you’ll still need to rely on your allies to finish off enemies.
The Verdict
Personally, I prefer allocating points into Smite first until I have enough for 10 points into Orbital Strike because it’s still quite effective even without it being maxed. I can cast it multiple times without worrying about its energy consumption, and it doesn’t take my primary role away as a support class. Instead of dishing out large chunks of damage, which my party members are already doing, I can avoid more redundancy by weakening the enemies instead.
Once you get past level 45, you’ll probably have enough skill points to swap out Smite for level 10 Orbital Strike while still encompassing the core base. If you can somehow constantly cast it without worrying about energy expenditure, with proper resource management via Energizer Gate and Large Energy Potions, you’re in a good spot because it’s definitely a lot stronger than Smite.
What about Summoning and Ovoid Subtree?
Both subtrees have a pretty notorious history in Big Time. Summoning Subtree Summon Artillery used to be able to take out level 60+ Mega Clockies with a player of any level, as long as they had the skill maxed out, along with Rolling Thunder passive. After it was nerfed the first time, players found out that it scaled with intelligence, so it was nerfed again. Lastly, it scaled with strength, albeit in a more arguably balanced position, but still got nerfed. So, turrets no longer scale, and their levels are capped at how many skill points you invest in them. They also don’t deal enough damage past level 20.
Ovoid Subtree Refreshing Grenade used to have a faster cooldown, allowing Quantum Fixers with enough movement speed to run forward and catch their own grenade, simultaneously reducing their own cooldown so they could keep spamming it onto themselves and others, so strong abilities could be used in rapid succession. Its cooldown has been dramatically increased to dissuade further usage.
So yeah, avoid or ovoid both subtrees.
Final Thoughts
Overall, I like the position Quantum Fixer is suited for in 0.26 because the core build is simple, coherent, and the class is still very effective throughout all stages of the game.
I think the requirements for accessing an earlier Instant Revive and the bypassing of obsolete skills via Path of Training tiers give us more skill points as we reach higher tiers, which is a positive note.
There’s still currently not a ton of variety, branching off, and customization. You’re stuck debating between Healing Aura vs. Healing Aura Drone and Smite vs. Orbital Strike, but even through deliberate analysis, there’s not much of a choice or alternative. A lot of the skills are, quite frankly, unused because they either get outclassed by a better skill, lose effectiveness later on, or they’re just impractical.
Healing skills that are impractical or get outclassed by better healing skills need to not only reach a decent degree of effectiveness but also provide interesting bonuses that could dissuade other players from using a better/best skill.
Better healing skills have notable characteristics such as faster cooldown, reliable min/max heal, reasonable energy cost, good range coverage, etc.
Those bonuses can come in the form of crowd control, enhancing other non-healing abilities later on, improved resource management, survivability increase, faster movement/attack speed, access to different ultimate/hyper abilities, etc. In other words, there’s always going to be a better ability! So why not make the weaker ones more interesting with unique properties!
Depending on how fast Big Time wants us to level, 10 skill points just to make an ability optimal is expensive, and leveling is difficult in this patch given that the max dungeon level cap went from 58 to 48. So, we’re stuck with very little room with close to only around 3-4 optimal skills in our rotation, given the lack of skill points. Either lessen the cap for some of the skills, allow us to level higher faster, or include passive bonuses automatically instead of having to put separate points into them; that way, players have more skills to work with.
Anyways! Hope my fellow QFs enjoy this guide! If you have any questions, suggestions, or would like to just hang out, join our Discord.